How to Connect an App to Multiple AI Models With a Single API
Building an application that taps into the capabilities of large language models, image generators, or music synthesis tools often means managing multiple API integrations. Each provider has its own authentication method, request format, and response structure. Developers end up writing custom adapters, juggling separate SDKs, and handling rate limits and error codes from each endpoint. The overhead can stall a project before it even gets to test the actual model performance.
A simpler approach is to use an API that is designed to work with many models through a single, familiar interface. Instead of learning a new schema for every provider, you write your code once against a standard that multiple backends understand. The OpenAI-compatible API format has become that common language. Many services now expose an OpenAI-shaped endpoint, even when they are running different models behind the scenes. This means you can swap models, compare outputs, or route requests based on cost or latency without rewriting your integration layer.
What an OpenAI-Compatible API Actually Gives You
When a service says it is OpenAI-compatible, it means its endpoints accept the same JSON structures that OpenAI's own API does. Your authentication header still carries an API key. Your POST body still expects a model field, a messages array for chat, and optional parameters like temperature or max_tokens. The response comes back with the same choices array and usage object. If you have already written code that talks to OpenAI, you can point that code at a different base URL and start using other models with minimal changes.
This compatibility is not limited to text. Image generation endpoints that follow OpenAI's DALL-E schema, or embedding endpoints that match the same structure, also fall under this umbrella. The benefit is consistency. Your app does not need to know whether the model behind the endpoint is from Anthropic, Meta, Mistral, or a smaller open-weight provider. As long as the API wrapper translates to the standard format, your application logic stays clean.
Step 1: Choose a Provider That Aggregates Models
Start by selecting a service that routes your requests to multiple underlying models through one API key. The provider should expose a single base URL and let you specify the model identifier you want to use. Some aggregators offer a dashboard where you can see which models are available, their current pricing, and any usage quotas. Look for one that supports the model families you care about: GPT-4, Claude, Gemini, Llama, Mistral, and image or music models if those are part of your project.
What to watch: Not every aggregator supports the full OpenAI request schema. Some may omit streaming, function calling, or vision fields. Check the provider's documentation for the exact list of supported parameters. If your app relies on tool use or structured output, verify those work before you commit.
Step 2: Set Up Authentication and Base URL
Once you have an account with the aggregator, generate an API key from their portal. Treat this key as sensitive; store it in an environment variable or a secrets manager. In your code, configure the client with the aggregator's base URL and your key. If you are using the official OpenAI Python SDK, you can override the base URL like this:
import openai client = openai.OpenAI( api_key="your-key-here", base_url="https://api.aggregator.com/v1" )The same pattern works for the Node.js SDK, the curl command, or any HTTP client. The key point is that you are still sending the same REST request structure, just to a different host.
What to watch: Some aggregators require a different header name or a prefix on the key. Read the authentication section of their docs carefully. A common mistake is to use the provider's base URL but keep the original OpenAI key, which will fail with a 401 error.
Step 3: Choose Your Model Identifier
Each aggregator maps the underlying model to a specific string. For example, you might send "model": "anthropic/claude-3.5-sonnet" or "model": "meta-llama/llama-3-70b". The exact naming convention varies. Some providers use a flat list; others use a namespace like provider/model-name. Your code should store the model identifier as a configuration value rather than hardcoding it, so you can switch models without redeploying.
What to watch: If you send a model identifier that the aggregator does not support, you will get a 404 or a descriptive error. Keep a fallback model in your application in case the primary one is down or deprecated. Also, note that the same model may be available from multiple sellers through the aggregator, and the identifier might include a seller code. Choose the one that matches your preferred latency and reliability profile.
Step 4: Build and Send Your Request
Construct your request exactly as you would for the OpenAI API. For a chat completion, your payload looks like this:
{ "model": "anthropic/claude-3.5-sonnet", "messages": [ {"role": "system", "content": "You are a helpful assistant."}, {"role": "user", "content": "Explain quantum computing in simple terms."} ], "temperature": 0.7 }Send it as a POST to the /chat/completions endpoint. The aggregator will forward the request to the underlying model, wait for the response, and return it in the standard format. Streaming works the same way: set stream: true and read the server-sent events.
What to watch: Latency can vary significantly between models and between sellers. A cheap provider might have slower inference or higher queue times. Build your application to handle timeouts gracefully. Also, some aggregators add a small overhead for routing; test with a few different models to understand the typical response times.
Step 5: Parse the Response and Handle Errors
The response from the aggregator will match the OpenAI structure. For a non-streaming request, you get a JSON object with a choices array. Each choice has a message object containing the content and role. The usage field shows token counts. Your existing response parser should work without changes.
Error handling requires a bit more attention. Aggregators may pass through errors from the underlying model, or they may return their own error codes. A 429 status might mean you hit the aggregator's rate limit, or it could mean the underlying model's rate limit. Some aggregators give you a retry-after header; others do not. Implement exponential backoff and check the error message body for clues. Log the full error response so you can debug later.
Step 6: Test With Multiple Models and Compare
Once the basic integration works, write a small test script that sends the same prompt to several models through the aggregator. Compare the output quality, latency, and cost. This is where the single-API approach shines. You can evaluate whether a cheaper model is good enough for your use case, or whether you need the most expensive one for complex reasoning tasks.
What to watch: Model behavior can change when accessed through an aggregator. The aggregator might apply different system prompts, modify the context window, or run the model on different hardware. Run your own benchmarks with realistic inputs rather than relying on published scores. Also, monitor the aggregator's uptime and support responsiveness; if they go down, your app loses access to all models at once.
Practical Considerations for Production
When you move to production, think about caching, fallback logic, and cost tracking. Since the aggregator handles billing, you may not get per-request cost breakdowns from all providers. Keep your own counter by tracking the token usage returned in each response. Set a budget alert in the aggregator's dashboard if they offer one.
You should also plan for the possibility that the aggregator changes its supported models or deprecates an endpoint. Subscribe to their changelog or status page. Have a backup plan: if the aggregator's service becomes unavailable, you can fall back to direct API calls to the underlying providers using their native SDKs. The extra code is minimal because you already have the model identifiers and your request logic is abstracted.
Why This Approach Works for Real Projects
Using a single OpenAI-compatible API to reach multiple models reduces the amount of code you need to write and maintain. It also gives you flexibility. You can start with a powerful but expensive model, then gradually migrate to smaller ones as you learn what your users actually need. If a new state-of-the-art model appears, you can switch to it by changing one string in your config file, not by rewriting an integration.
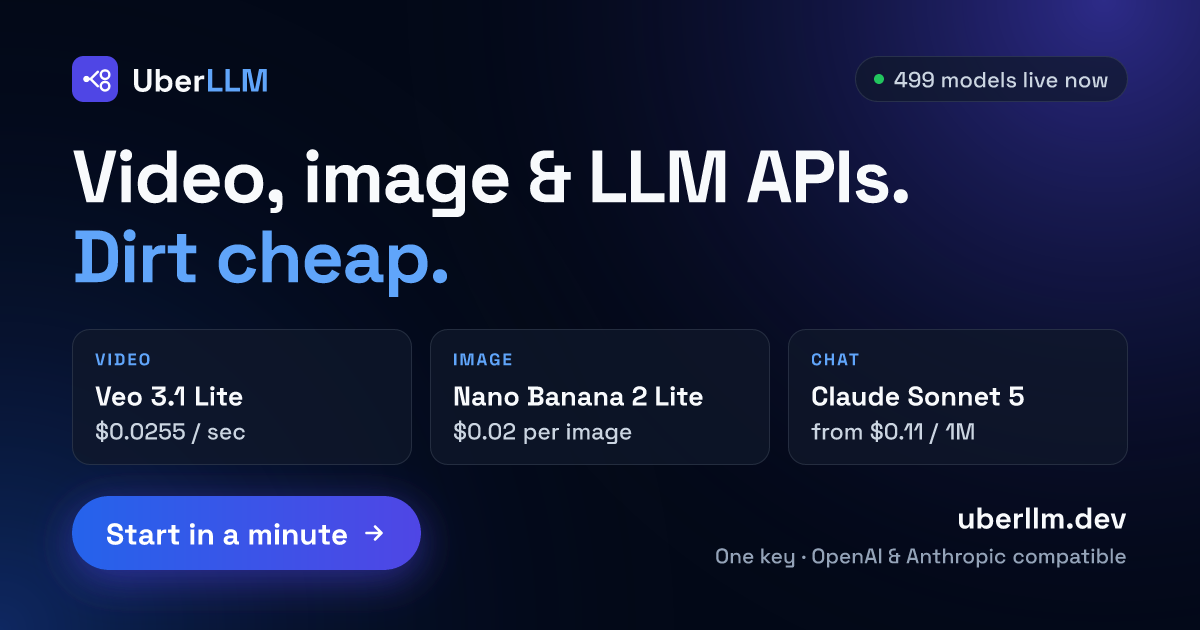
Services like UberLLM provide exactly this kind of unified access. They expose one OpenAI and Anthropic compatible API that lets you reach LLM, image, video, and music models from competing sellers. The pricing is below list rates, and there is no subscription or per-request fee. That combination makes it practical to experiment with many models without committing to a single vendor or paying a premium for flexibility.
The key is to treat the aggregator as a transparent layer. Your code should not depend on any aggregator-specific feature beyond the base URL and model naming convention. If you keep your integration generic, you can switch aggregators later if needed. The effort of setting up the first connection pays for itself the moment you need to test a different model for a new feature.
Start with a simple proof of concept: send one prompt to three different models through the aggregator and compare the responses. Once you see how easy it is to swap models, you will likely find more uses for the pattern, from A/B testing responses in production to routing specific user queries to specialized models. The single API approach does not just save development time; it opens up a design space where the model becomes a configurable parameter rather than a hard architectural decision.